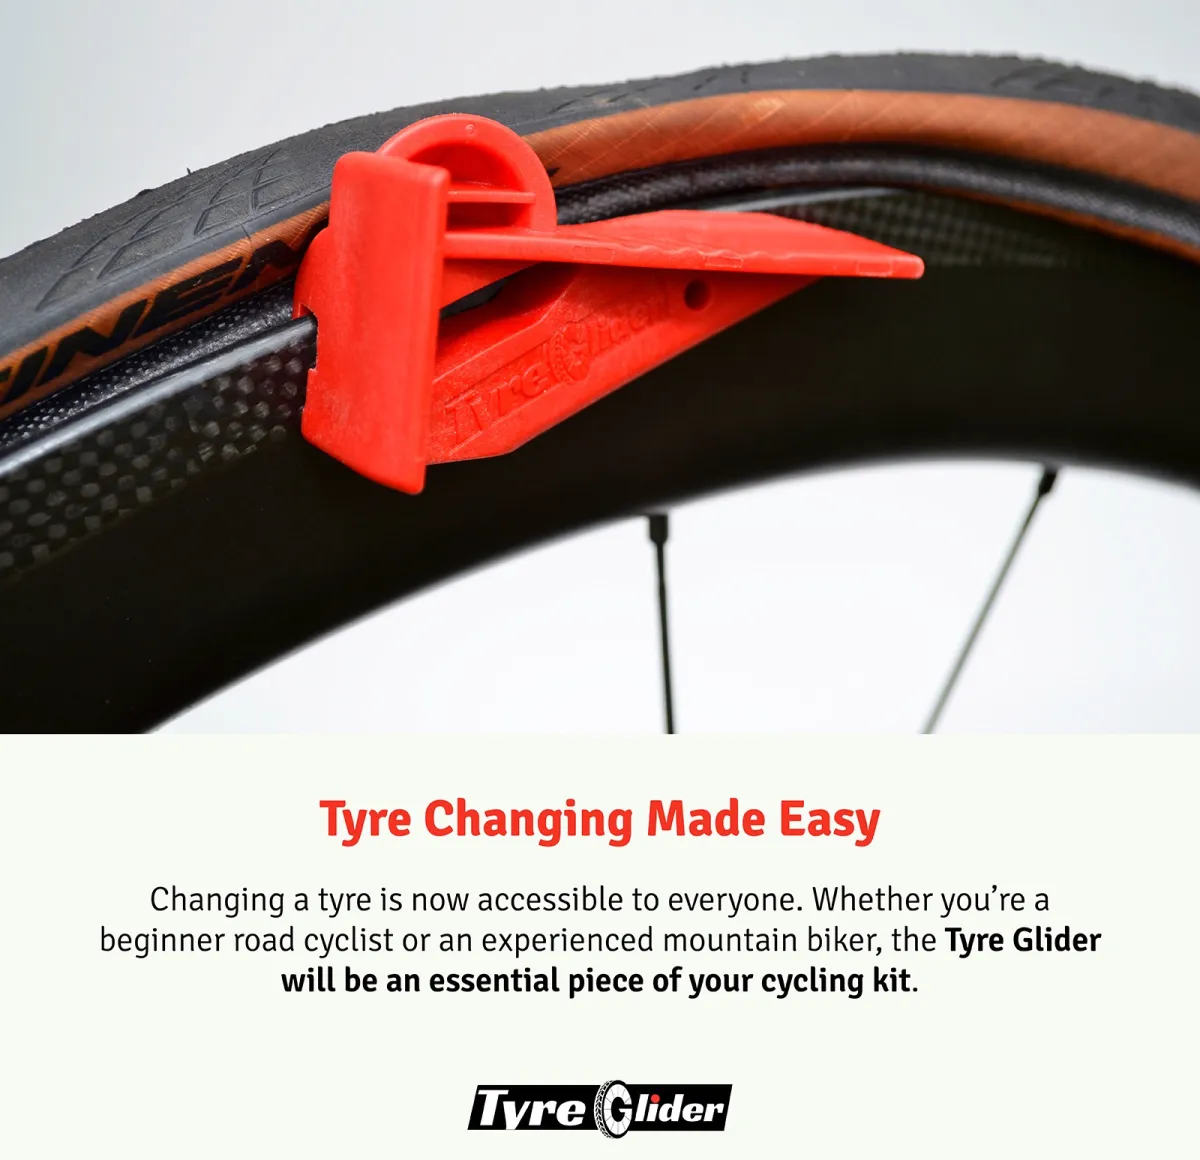
How to remove a tyre?
- Push in the Tyre bead in to create a gap.
- Position Tyre Glider in the gap and then ‘scoop’ the lip fully under the bead.
- Lever the Tyre Glider back pulling the bead over the wheel rim.
- Push in a forward & downward motion to glide the tyre off the rim.
How to install a tyre?
- Starting at the valave, Clip the Tyre Glider onto the rim.
- Using your palm push your Tyre Glider forward.
- The bead will seat itself as you push Tyre Glider around the wheel.
How to remove tight fitting Tyres?
- Follow the above steps first.
- Start opposite Tyre Glider and pinch bead in around the wheel towards your Tyre Glider.
- Turn the wheel back to the Tyre Gliders position & push.
How to install a tight tyre?
- Follow the “install tyre” steps first.
- When you encounter resistance, stand with the wheel between your legs and use your bodyweight to push down.
- For really tight fitting tyres, use your thumb to help install the last bit of bead onto the tyre.
Please check this video out and learn how easy it is to use it.
https://www.instagram.com/reel/CsdymKKsj-U/


Reviews
There are no reviews yet.